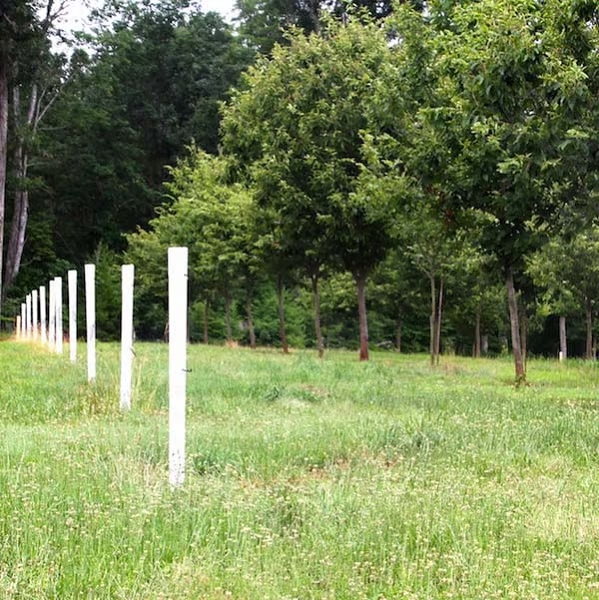
Sunlight Note: SunFlex is a greenhouse designed for a wide range of sunlight conditions which receive a minimum of 6-8 hours of uninterrupted sunlight per day during the growing season. The image at right illustrates where to plant your seedlings if using a grow tube. Avoid planting seedlings and using any grow tube, tree-tube or tree-shelter in deep shade. Plants, especially small seedlings, need sunlight and plenty of it. Planting under established and shady tree canopies increases root competition for young seedlings that would grow better in a space of their own.
Please use care in choosing planting locations where your new seedlings receive enough sunlight and other resources for optimal growth. Plan for their needs the day of planting and for the seasons to come. If you are unsure how much sunlight your seedlings need or the best locations for planting, consult with your local nursery professional, preferably the nursery that supplies your trees.
Choosing the correct grow tube height - Any discussion of grow tube (and tree-shelter or tree tube) height needs to factor in two things from the get-go; deer browse and minimum desired branch height.
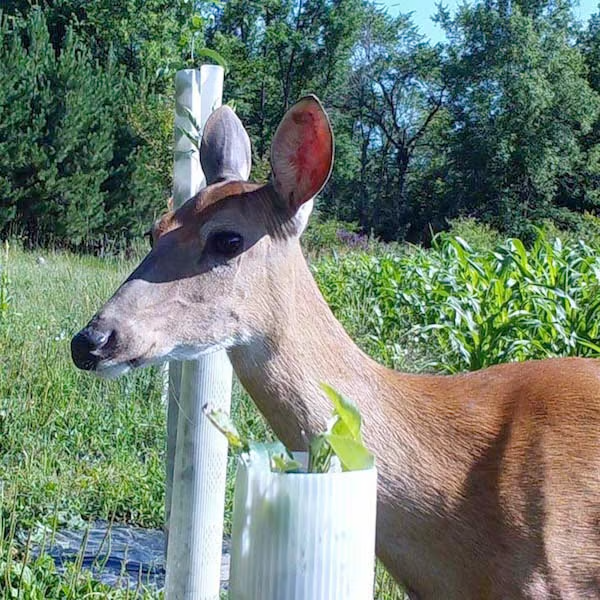
1. Protect against deer browse or damage from other animals - Deer are unquestionably the number one threat to nearly all wild land, and today, many urban tree plantings. White-tailed deer, with an average height of 36-40 inches at the shoulder plus its neck length, can easily browse any unprotected tree below about 4½ ft tall. That's why SunFlex 59-in Doe Shield Grow Tubes are the bare minimum, and 71-in tall Buck Shield Grow Tubes are the preferred heights to protect against deer browse. For severe deer pressure a 71-in height should be considered mandatory.
Planting a seedling in a grow tube (or tree-shelter or tree tube) height below 4½ ft in deer country is a recipe for failure because it puts the emerging tree top right at or close to the feeding level for all North American deer species. Once deer munch the tree top emerging from a shorter tube the tree's natural form is irreparably harmed. The tree almost always responds by pushing multiple leaders trying to replace what was lost to get at least one stem to grow past the deer.
As the tree matures, multiple leaders produce weakened main stems caused by narrow branch angles that become part of the trunk (provided that the tree ever does make it past the deer). Stems with incorporated narrow branch angles are prone to crack and snap under even moderate wind-loads as they mature. To fully protect your trees and their natural, healthy form, don't skimp on grow tube height if deer are in your area. See the chart below to match grow tube height to deer and other animal threats.
2. Determine the minimum branching height - Deer are the primary reason 59-in Doe Shield and 71-in Buck Shield Grow Tubes are necessary to protect young broad leaf (deciduous) trees. But these taller grow tubes have the added benefits of promoting taller and straighter stems and branch-free trunks below the height of the tube. This is important for both wild land and urban jungle plantings. Low branches are magnets for deer to browse on and raccoons to climb on to get higher into the tree. In urban plantings these same low branches can easily be damaged by landscape equipment or even by children climbing on young trees not strong enough to support their weight.
A good rule of thumb is, the taller the grow tube, the better the tree form. The exception to this rule involves dwarf trees that may not grow beyond 6ft or so. Dwarf variety fruit and nut trees have lower branch scaffold heights and require shorter grow tubes to allow lower side branching. Consult with your nursery about how tall your trees will grow to make the best choice for grow tube height. Generally speaking the guidelines below are good yardsticks for choosing grow tube height:
- Full-size (appx.18ft-25ft or taller) = 59-in or 71-in grow tube height
- Semi-dwarf (appx. 12ft-15ft) = 59-in or 71-in grow tube height
- Dwarf (appx. 8ft-10 or less) = 24-in to 47-in grow tube height
Note: If planting on hillsides, a taller grow tube may be necessary to protect on up-slope side.
Installing The SunFlex Grow Tube System
Step 1 - Plant seedling
Always follow your nursery supplier's guidelines on when, where & how best to plant your new seedlings.
Step 2 - Prepare the seedling for tubing.
If your seedlings have side (lateral) branches please remove them carefully using sharp pruning shears before installing the grow tube (see figure 1). Be sure to avoid cutting the terminal leader and when you are finished your seedling should have a single stem with only leaves or very tiny branches left on the side.
NOTE: Do NOT bend side branches to squeeze or otherwise force them into the grow tube. Doing so will encourage weak branching and other problems as the tree matures.
Step 3 - Install Grow Tube and Support Stake
A. Position stake 1.5 - 2 inches from the seedling with ground-line marker towards the ground. Use Plantra SunFlex Stake Driver for stakes 47in and taller (36in stakes can be driven with a soft mallet) and drive stake until ground-line marker reaches the soil surface (see figure 2).
B. Pop grow tube open by flattening tube its entire length in opposite direction as packed. Next, slide the grow tube over the top of the stake and down to the ground carefully guiding both the seedling and the SunFlex stake entirely inside the grow tube (see figure 2).
NOTE: This method of installing support stake inside the grow tube is recommended for SunFlex stakes only.
The SunFlex Stake has a rounded top to avoid stem abrasion and a small diameter to avoid crowding the seedling inside the grow tube. Other stake materials should not be installed inside grow tubes as their sharp edges could damage stems that come in contact with the stake top and have large diameters which will occupy important growing volume inside the tube the tree should have.
Steps 3C-3E (see figure 3)
C. Position the grow tube so a flat side of the stake is snug against the side of the tube and in line between the paired tie holes.
D. Firmly tap the top of the tube to seat the tube base into the soil. Mound additional soil around the tube base as needed to reduce entry by rodents. When completed, the tip of the SunFlex stake should be at least 1-2 inches above the top tie hole and below the top of the grow tube.
IMPORTANT: Firmly tap the top of the tube to seat the tube base into the soil. Mound additional soil around tube base as needed to reduce entry by rodents.
E. Attach the grow tube to the stake with 3 Twist Lock™ Soft Wire Ties included. Begin by inserting 1 Twist Lock™ tie through a top tie-hole from the outside, guiding it around the stake and back out the other paired tie hole. Twist both tie ends firmly so that the tube and stake are tight together to prevent the grow tube from sliding up from wind or contact by animals. Repeat steps for middle and bottom tie holes.
TIP: Bend the Twist Lock™ tie about 2 inches from one end to make a "curl." Use the curled end to thread the tie into one tie hole, around the stake and out the other tie hole.
Step 4 - Install bird exclusion mesh top (see figure 4)
All SunFlex Grow Tubes 4ft tall and taller come with exclusion mesh netting intended to discourage birds from entering the tubes.
When installed, approximately 1 inch of mesh cap should remain closed at the top as shown in Figure 4A and 4B. For 4ft and 5ft grow tube heights the mesh tops should be pulled down to height of tie holes. For 6ft SunFlex Grow Tube installation, the mesh cap will only extend about half-way down between the top of the tube the tie holes. In this instance, the tie ends will need to reach up to hook the netting in place to allow enough netting above tube top to remain closed.
Additional Considerations
A Word About Weed Control
Weeds and grasses steal light, water, and nutrients from your seedlings and provide cover for stem-girdling rodents. Every square foot of soil is capable of producing a limited amount of biomass growth. By controlling weeds, growth potential is maximized. Plantra Water Saver™ Weed Mats stop weeds in their tracks and provide a safe alternative to chemicals.
Grow Tube After-Care
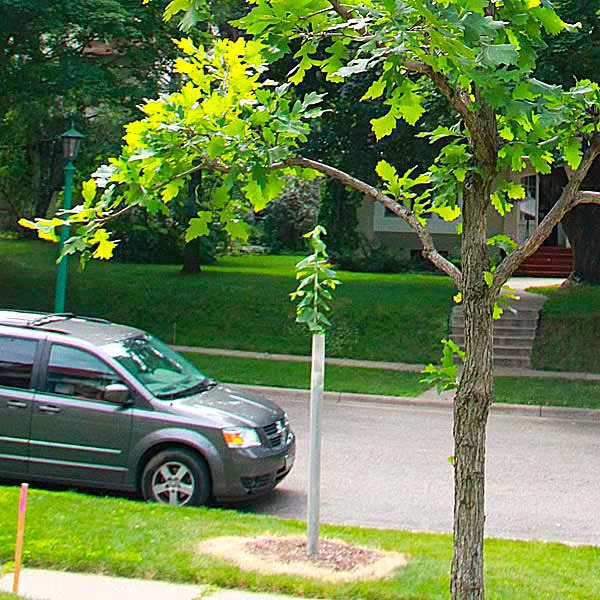
SunFlex Grow Tubes are designed to last for years until your trees are big enough to make it on their own. In the first season or two, new leaves will form on the stem inside the tube as the seedling grows. Please do not remove these green leaves - they are important to fuel the tree early growth.
During the first season(s) be sure that the bird exclusion mesh tops remain in place on all tubes taller than 3ft. If any mesh tops are missing before seedlings grow within 6 inches of the tube tops please call our Grower Success Team at Plantra and we'll send you replacements free of charge. Once seedlings get to the top of the tube the mesh tops are no longer needed and should be removed.
To keep your trees fully protected beyond the first growing seasons, do not remove SunFlex Grow Tubes until the tree trunk has grown to the size of the tube diameter. If you're running behind checking on your trees, SunFlex Grow Tubes are perforated along two sides their entire length, allowing the tube to split open once the trunk diameter grows bigger than the diameter of the tube.
Waiting until the stem grows to the size of the tree tube diameter ensures that your tree is "wind-firm" and ready to support itself entirely. Doing so also allows the tube to help protect the main trunk against damage by antler rub, gnawing rodents or mechanical injury. Once your trees outgrow the tube diameter the tubes and support stakes should be removed from the field. SunFlex grow tubes can be recycled and SunFlex stakes can be reused again and again.


